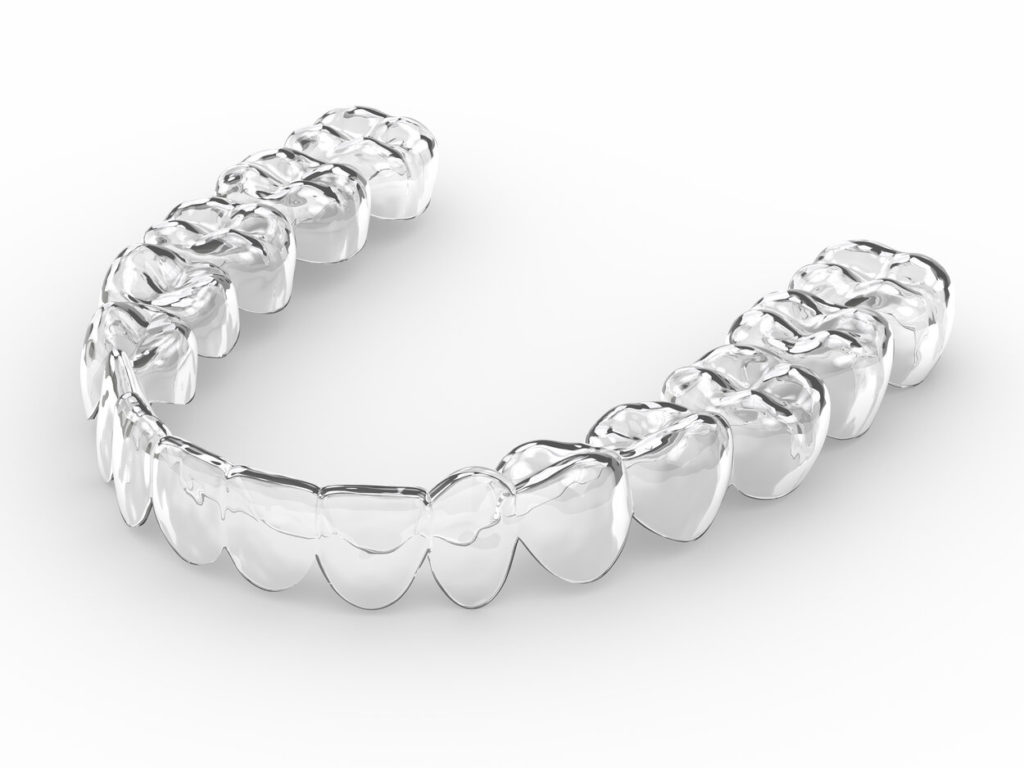
Invisalign is a great alternative for traditional braces. It can correct alignment issues, fix your bite, close gaps between teeth, and make you feel more confident in your smile. As popular as Invisalign has become since its debut in 1997, how much do you really know about this treatment? Read on to learn about all the steps involved in the Invisalign treatment process.
Step #1: Your Initial Consultation
The first step of the Invisalign process is to schedule a consultation with your dentist. During this visit, you’ll discuss your smile goals. Your dentist will also take a look at your teeth and jaw and take X-rays to determine if Invisalign is right for you. Additionally, issues like gum disease and cavities will need to be fixed before moving forward, so your dentist will discuss treatment options for those if necessary.
Step #2: Planning Your Invisalign Treatment
If your dentist decides that you’re a good candidate for Invisalign, they will create a custom treatment plan for you. They will also take impressions of your teeth and use them to make a series of clear aligners. Each set will represent a step in the treatment process. Your dentist will also be able to determine how long your treatment should take.
Step #3: Getting Your Aligners
Once your aligners are ready, your dentist will have you return to their office to try on the first set. This will allow them to show you how to best handle and clean your aligner trays. If need be, they will make adjustments to ensure that your aligners are comfortable. Then, they will answer any questions you have before you go home to start your treatment.
Step #4: Wearing Your Aligners
You will need to wear your aligners for at least 20-22 hours per day to ensure that your treatment stays on track. This will allow for plenty of time to remove them to eat, drink, brush and floss your teeth, play sports, and attend the occasional special event.
Step #5: Periodic Checkups
Your dentist will have you come in for checkups so they can examine your progress and answer questions every six weeks or so. These appointments are generally pretty short and are also where you will receive your next few sets of aligners.
Step #6: Finishing Treatment & Your Retainer
Once you have completely worked your way through the entire series of aligners, you will be given a custom-made retainer. Your dentist will tell you how often these will need to be worn to prevent your teeth from moving back to their previous position.
Though the Invisalign process involves multiple steps, it’s worth it to get the confidence boost a new smile brings. As long as you follow your dentist’s instructions throughout treatment and wear your retainer as often as you’re supposed to, you’ll be able to enjoy your new smile for years to come!
About the Practice
Sunny Smile Dental aims to make patients feel well cared for from the moment they enter their warm, welcoming Dallas office. They offer Invisalign clear aligners to help correct issues with your smile so you can sport a grin you’re proud to show off. Are you interested in scheduling an appointment or want more information on the Invisalign treatment process? Call Sunny Smile Dental’s office at (972) 481-8800 or visit their website today.
